This page documents the steps used in creating a directory structure compatible with the Modelsim QHDL environment in the Unix environment.
Grab the file
vhdl_course.zip and unzip via:
directory, do the following:
unzip vhdl_course.zip
This will setup a directory structure that looks like:
  vhdl_course/src/
	         /Makefiles    -- Makefiles for VHDL libraries
	         /exam1        -- source directory for VHDL example #1
	        /utilities     -- various files that define useful
	                       -- VHDL packages which we will use in
                               -- this course
  vhdl_course/obj/qhdl/
	              /exam1        -- compiled VHDL object code for example #1
		      /utilities    -- compiled VHDL object code for utilities
(there are actually more files in this archive than the ones listed above but this
document only refers to a subset). Except for the 'Makefiles' directory, each directory under the 'src'
directory represents a VHDL 'library'. The VHDL files within the
library contain VHDL entities, packages, and configurations that
reside within the library. Under the 'Makefiles' directory, there is
a 'Makefile' for each VHDL library, i.e:
     src/Makefiles/Makefile.exam1    - makefile for library 'exam1'
     src/Makefiles/Makefile.utilities    - makefile for library 'utilities'
To compile the contents of a library using one of the Makefiles, change directories to the 'src' directory and do:
      swsetup modelsim
      gmake -f Makefiles/Makefile.exam1  TOOLSET=qhdl
This will compile the contents of the 'exam1' library. The Makefile
has been written to be compatible with several VHDL simulators, hence
the use of the 'TOOLSET' variable. The 'swsetup' command only has to
be issued once in order to put the Mentor QHDL tools on your path; you
may want to add this to your .cshrc file.
If you want to add new VHDL entities/packages/configurations to an existing library then:
If you want to add your own VHDL library, then follow these steps, all of which must be executed from within the 'src/' directory:
mkdir mylib
     qhlib ../obj/qhdl/mylib
     mkdir ../obj/qhdl/mylib/ts
The result of this command will be a new directory
'../obj/qhdl/mylib' which will have some QHDL setup files in it. The
'ts' directory holds timestamp information required by our Makefile setup.
qhmap mylib ../obj/qhdl/mylib
This command edits the 'src/modelsim.ini' file and adds a logical to
physical name mapping entry.
The 'src/exam1' directory contains the following files:
The 'stim.vhd' entity applies test vectors to the test bench; the last test vector is applied at 151 ns. The following command will run the simulation in batch mode for a 160 ns:
qhsim -c -lib ../obj/qhdl/exam1 cfg_tb -do "run 160 ns;quit"
The '-c' option specifies that 'qhsim' should be run in batch mode. The -lib option specifies the library, in this case '../obj/qhdl/exam1'. The next parameter, 'cfg_tb', must be the name of the VHDL entity OR configuration to be executed. The '-do' option specifes the commands to be executed; these commands can either be directly specified as shown or contained in a file.
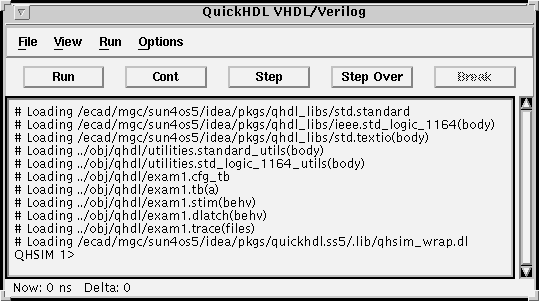
The 'qhsim' simulator can also be run in an interactive mode which is useful for debugging. Do this via:
qhsim -lib ../obj/qhdl/exam1 cfg_tb &

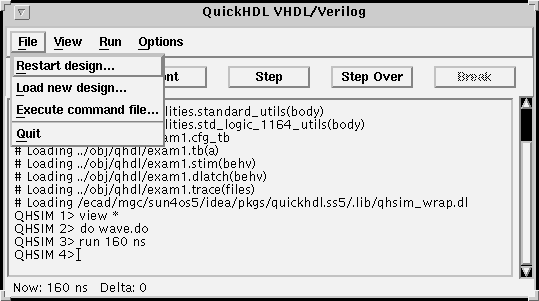
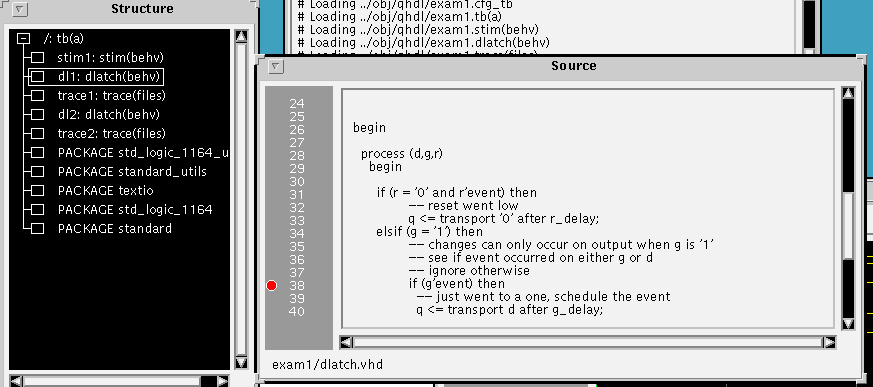
view *This will cause MANY windows to pop up; do not be intimidated by the number of windows. The windows and their functions are as follows:
The 'wave' window is used to display signal waveforms during simulation execution. I have prepared a command file to add signals to this window; the file is called 'exam1.do' and is in the 'src/' directory. To execute this command file, type:
do wave.doin the main simulation window. Click on the 'wave' window and see what signals got added. These are signals which are defined in the 'tb.vhd' file which is the top-level entity.
To run the simulation for 160 ns, type:
run 160 nsThe signals in the wave window will be updated as shown:


